Thursday, March 28, 2013
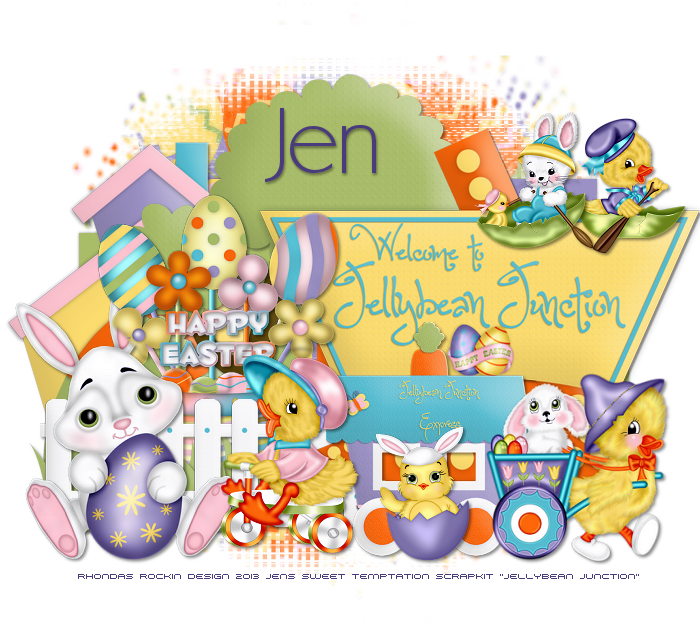
Jellybean Junction - FTU
Supplies Needed:
FTU Scrap Kit by Jen from Sweet Temptations called "Jellybean Junction"
You can download this adorable kit HERE
Template #185 by Beckys Creations HERE
Mask by Jus Graphix - first mask in group HERE
Don't forget to leave a thank you when downloading
Open template - Shift D to duplicate then close out original
Canvas size 700x640
delete copyright, all stars & shadow layers
paste a paper of choice from the kit - I used paper7
selection invert delete
select none delete the original
paste a paper of choice from the kit - I used paper6
selection invert delete
select none delete the original
paste a paper of choice from the kit - I used paper1
selection invert delete
select none delete the original
paste a paper of choice from the kit - I used paper8
selection invert delete
select none delete the original
paste a paper of choice from the kit - I used paper5
selection invert delete
select none delete the original
paste a paper of choice from the kit - I used paper3
selection invert delete
select none delete the original
paste a paper of choice from the kit - I used paper4
selection invert delete
select none delete the original
I used the following:
Boat Chick
Boat Ride
Bunny 1
Cart Chick
Chick
Fence
Grass
House
Pot
Train 1
Tree 1
Trike Duck
Welcome Sign
Open paper 4 and apply mask
Add the Copyright and your License Number for the tube
Resize to your liking and save as PNG
This tutorial was created on March 28,2013 by Rhonda
Any resemblance to another Tag or Tutorial is purely coincidental

Subscribe to:
Post Comments (Atom)
My Blinkie

My Licenses


No comments:
Post a Comment